How to Recover an Overwritten Word Document
Quick answer: If you saved over a Word document, stop editing first. Make a copy of the current file, then check Version History in Word, OneDrive, or SharePoint before you search for temporary files. Restore only after you have previewed the older version or downloaded a copy.
An overwritten document is different from a deleted document. The file is still there, but the words you need may be sitting inside an older version. That is good news, but only if you avoid the mistake that ruins recoveries: repeatedly opening, saving, syncing, and restoring while you are panicked.
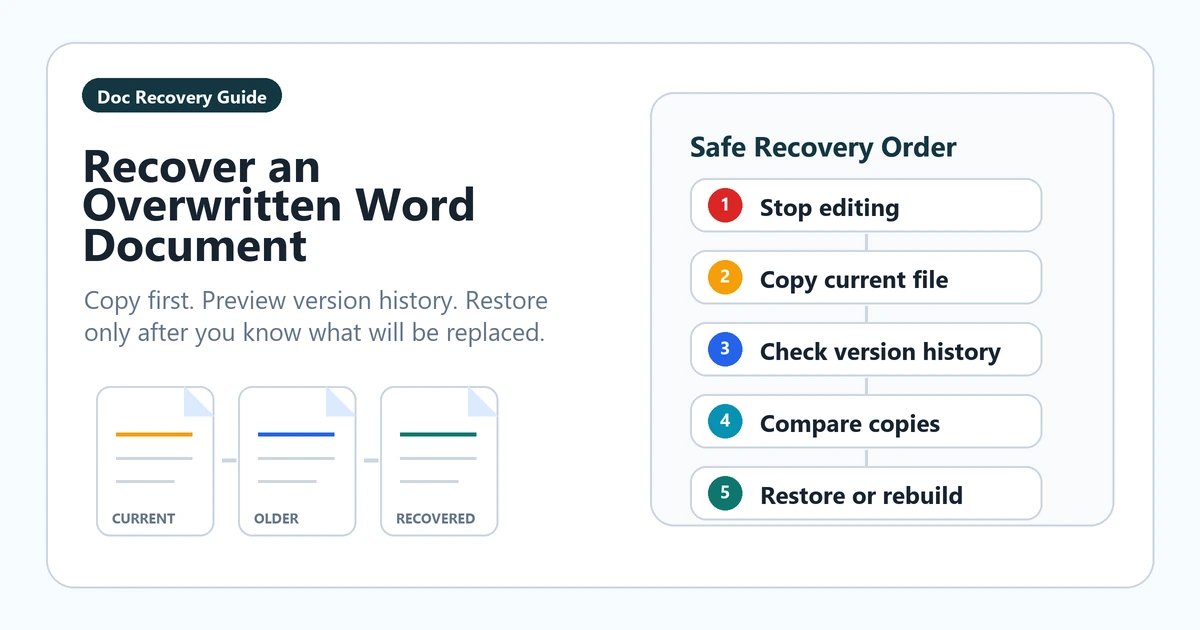
This guide uses the safest order first: preserve the file that exists now, look for real version history, compare candidate copies, and only then restore or rebuild.
The first five minutes matter
Before you click around, do these four things:
- Stop editing the document. Do not add a note, remove a paragraph, or save "just one more time."
- Make a safety copy of the current file. Use a name like Project brief - current overwritten copy.docx.
- Write down where it lives. Is it in OneDrive, SharePoint, a Teams folder, Downloads, Desktop, or an external drive?
- Create a recovery folder. Put every candidate copy there before you open or edit it.
This is not busywork. It prevents a bad restore from becoming the only version you have.
Choose the right recovery path
Use the file location to decide where to look first.
- OneDrive or SharePoint: check Version History first.
- Word file open in Microsoft 365: check Word's Version History from the file title or File menu.
- Local Windows folder: check File History or Previous Versions if backups were enabled.
- Crash or sudden close: check Word Document Recovery or AutoRecover files.
- Email attachment or copied file: search for the original attachment or the other folder where you may have edited a second copy.
If the document is in OneDrive or SharePoint, do not start with random temporary files. Microsoft says Version History applies to files stored in OneDrive or SharePoint in Microsoft 365, and that is usually the cleanest recovery source.
Path 1: Restore from Word Version History
Use this when the file is stored in OneDrive or SharePoint and you can open it in Word.
- Open the document.
- Select the file name at the top of the window, then choose Version History. In some versions, use File > Info > Version History or File > Version History.
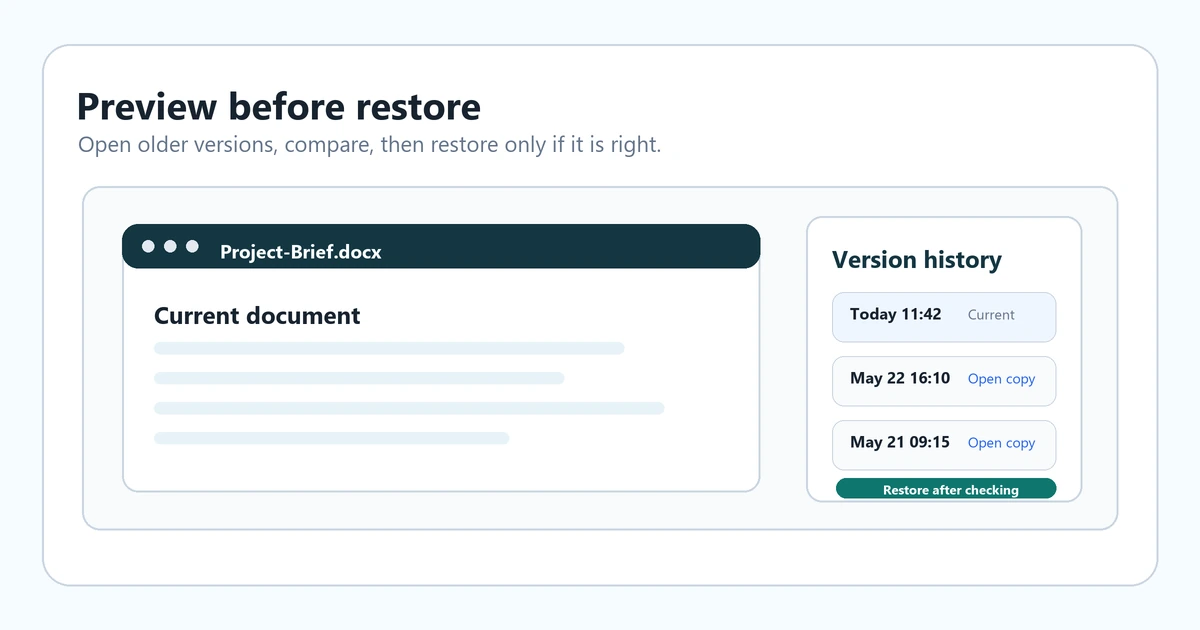
- Open an older version in a separate window.
- Check the missing section, table, comment, or date.
- If it is the right version, either restore it or copy the missing content into a new recovered file.
Restoring makes that older version the current file. That can be correct, but it can also remove newer edits you still need. When in doubt, copy text out of the old version into a new file instead of restoring immediately.
Path 2: Use OneDrive or SharePoint Version History
This path is useful when you cannot find the option inside Word, or when you are working from the browser.
- Sign in to OneDrive or open the SharePoint document library.
- Find the file.
- Right-click it and choose Version history.
- Open or preview likely versions by date and editor.
- Download the best candidate before you restore.
For work or school files, your organization controls how many versions are kept. For personal OneDrive accounts, Microsoft notes that the last 25 versions may be available. Either way, the exact number is not something the article can promise. Check the version list you actually see.
Path 3: If it was a local file
If the document was only on your computer and not in a synced cloud folder, Version History may not exist. Try these instead.
Check File History or Previous Versions
On Windows, File History can restore previous copies if it was already enabled.
- Open File Explorer.
- Go to the folder that contains the document.
- Right-click the file or folder and choose Restore previous versions.
- Preview the older version if possible.
- Use Restore to... or restore to a separate folder when available, so you do not overwrite the current file.
Microsoft warns that a direct restore can replace the current file and cannot be undone. That is why restoring to a separate folder is safer.
Check Word AutoRecover only after version history
AutoRecover is mainly for crashes and unsaved work. It is still worth checking, but it is not the same thing as a saved version history.
Open Word and look for the Document Recovery pane. If Word offers recovered files, open each candidate and immediately save useful ones into your recovery folder with a clear name.
The comparison folder method
When you have two or more candidates, do not trust memory. Build a small comparison folder and label each file by source.
Example:
- CURRENT - copied before recovery.docx
- ONEDRIVE - version from May 22 10-14.docx
- WORD - recovered candidate.docx
- FILE HISTORY - restored to separate folder.docx
- RECOVERED - working copy.docx
Open the candidates read-only if you can. Copy the missing paragraphs, tables, or comments into RECOVERED - working copy.docx. This is slower than one-click restore, but it protects both the old content and the newer edits.

What not to do
Avoid these recovery-killers:
- Do not keep typing in the overwritten file while searching.
- Do not restore an older cloud version before saving a copy of the current one.
- Do not delete AutoRecover or temporary-looking files until the recovery is finished.
- Do not rename a blank or wrong file to the original name just to "put it back."
- Do not assume AutoSave and AutoRecover are the same feature.
- Do not restore from File History directly over the current file unless you are sure.
If Version History is missing
Version History may be missing or limited when:
- the file was saved only on a local drive;
- it was never stored in OneDrive or SharePoint;
- you are not signed into the account that owns the file;
- the file came from someone else and you only have a downloaded copy;
- your organization changed retention or versioning settings.
In that case, your best remaining routes are File History, AutoRecover, email attachments, old exports, backups, and copies on other devices.
When to ask IT or support
Pause and ask for help if the document is legal, medical, academic, financial, or work-critical. Before you contact support, gather:
- the current file copy;
- the OneDrive or SharePoint link if there is one;
- the approximate time the good version last existed;
- the names of people who edited it;
- screenshots or notes from the version list.
That gives IT a better chance to preserve an audit trail instead of guessing from memory.
Reader takeaway
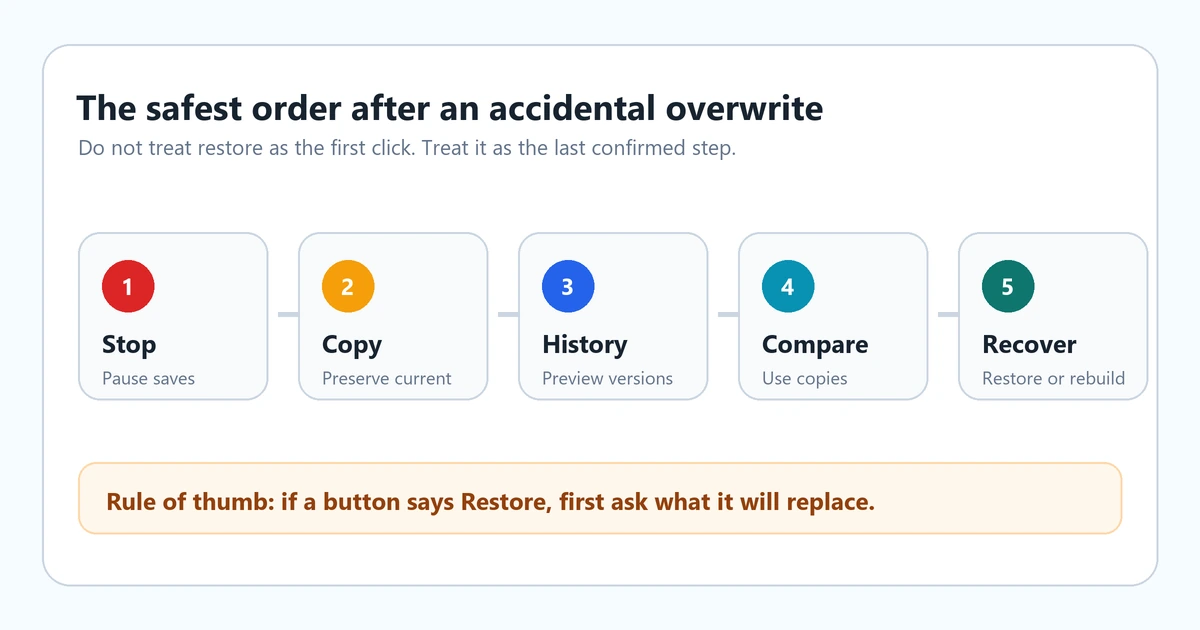
The safest order is simple:
- Copy the current file.
- Check Word, OneDrive, or SharePoint Version History.
- Download or preview older candidates.
- Compare in a recovery folder.
- Restore only when you know what will be replaced.
Most overwritten Word document recoveries fail because people rush the restore. Slow down for five minutes, and you are much more likely to keep both the missing work and the newer edits.
Sources
- Microsoft Support: View previous versions of Office files
- Microsoft Support: Restore a previous version of a file stored in OneDrive
- Microsoft Support: Recover your Word files and documents
- Microsoft Support: Backup and restore with File History